
Varnishing a kayak can breathe new life into your beloved watercraft, but getting it right depends a lot on the weather. The best conditions for varnishing a kayak are warm and dry, with temperatures between 70°F and 85°F and low humidity levels. These conditions help the varnish cure properly, giving your kayak a smooth, durable finish.
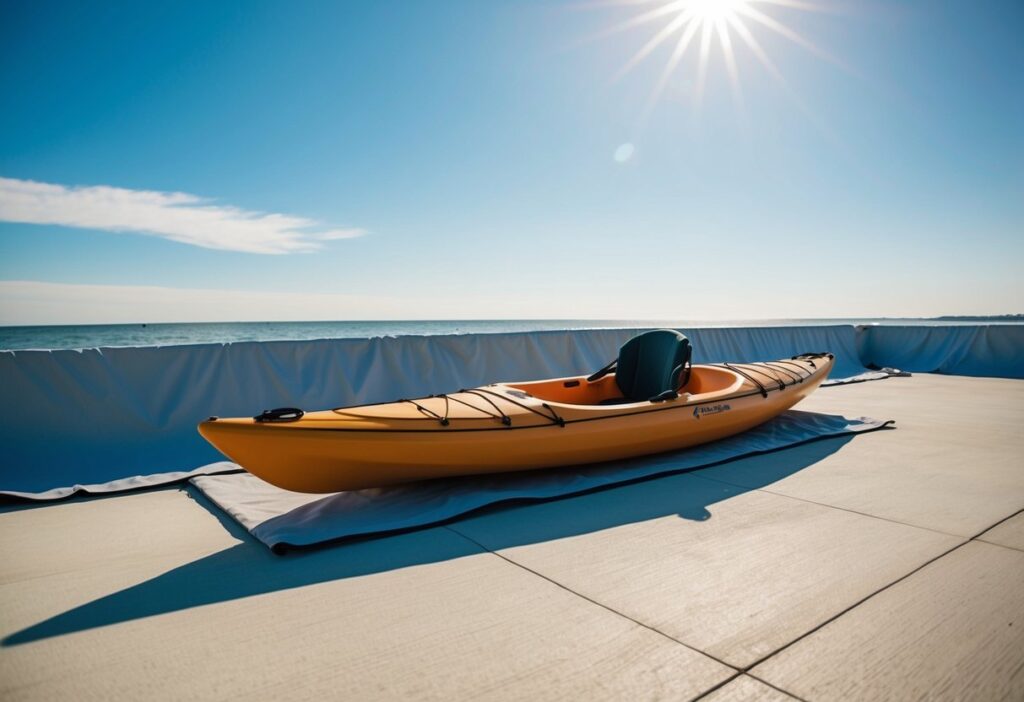
We’ve found that picking the right day to varnish is crucial. Avoid windy weather, as dust can settle on the wet varnish and ruin your hard work. A calm, clear day is ideal for this project. It’s also smart to check the forecast and plan for a stretch of good weather, as your kayak will need time to dry between coats.
Key Takeaways
- Warm, dry conditions between 70-85°F are ideal for varnishing
- Choose a calm day to avoid dust settling on wet varnish
- Plan for several days of good weather for proper drying between coats
Assessing Ideal Conditions for Varnishing
Picking the right conditions is key for a great varnish job on your kayak. We’ll break down the weather, water, and wind factors to watch for.
Understanding Weather Conditions
When varnishing a kayak, we aim for dry days with low humidity. The sweet spot is 50 to 85°F with humidity under 80%. Warm, dry air helps the varnish dry evenly and stick well.
Rain is a no-go. Even a light drizzle can mess up your work. We always check the forecast before starting. If there’s a chance of rain, it’s best to wait.
Bright sun isn’t ideal either. It can make the varnish dry too fast, leading to bubbles or streaks. Cloudy days or soft morning light work best.
Evaluating Water Conditions
Water conditions matter too, even if you’re not on the water. High humidity from nearby water can slow drying time. We try to varnish away from lakes or the ocean on humid days.
If you’re varnishing near water, pick a spot with good airflow. A light breeze helps, but too much wind kicks up dust.
Tides affect humidity near coasts. We prefer varnishing during low tide when the air is drier.
Checking Wind and Tide
Wind can be friend or foe when varnishing. A gentle breeze helps dry the varnish and keeps bugs away. But strong winds blow dust and debris onto your wet finish.
We check wind speed and direction before starting. Winds under 5 mph are ideal. If it’s windier, we look for a sheltered spot.
Tides matter for coastal varnishing. Low tide means less moisture in the air. We time our work with the tide chart for best results.
Always have a backup plan. Weather can change fast. We keep tarps handy to cover our work if clouds roll in.
Preparation for Varnishing
Getting ready to varnish a kayak takes some careful steps. We need to prep the surface, gather the right tools, and think about safety. Let’s break it down.
Surface Preparation
First things first, we need to clean the kayak. We use soap and water to wash off any dirt or grime. Once it’s dry, we sand the surface. This helps the varnish stick better. We start with coarse sandpaper and work our way to finer grits.
After sanding, we wipe the kayak with a tack cloth. This picks up all the dust. If there are any cracks or dings, we fix them now. Small holes get filled with wood filler or epoxy.
Lastly, we clean the kayak again. We use a solvent like mineral spirits to remove any oils or leftover dust.
The Right Tools and Materials
We need a few key items for varnishing. A good brush is a must. Natural bristle brushes work well for oil-based varnishes. For water-based ones, we use synthetic brushes.
We also need:
- Sandpaper (various grits)
- Tack cloths
- Clean rags
- Stirring sticks
- Varnish (marine-grade is best for kayaks)
- Thinner (to clean brushes)
A drop cloth protects the floor. We also use painter’s tape to cover areas we don’t want varnished.
Safety Measures
Safety comes first when varnishing. We always work in a well-ventilated area. If we’re indoors, we open windows and use fans.
Gloves protect our hands from the varnish and solvents. We wear old clothes or a paint suit. Safety glasses shield our eyes from splatters.
For sanding, we use a dust mask. This keeps us from breathing in fine particles. If we’re using spray varnish, a respirator is a good idea.
UV protection is key if we’re working outside. We wear sunscreen and a hat to avoid sunburn. We also check the weather. Dry, warm days are best for varnishing.
Varnishing Process
Varnishing a kayak takes skill and patience. We’ll walk you through the steps to get a smooth, glossy finish that protects your boat.
Applying Varnish
We start by cleaning the kayak and sanding it with 120-grit sandpaper. This removes old varnish and smooths out bumps. Next, we thin the first coat of varnish 50/50 with thinner. This helps it soak into the wood better.
We use a foam brush or natural bristle brush to apply thin, even coats. It’s key not to rush – we wait for each coat to dry fully before adding the next one. We usually do 3-4 coats, lightly sanding between each with 220-grit paper.
Achieving Optimal Finish
For a glass-like finish, we focus on the final coats. We thin these less, using about 10-20% thinner. This makes the varnish flow out smoother. We’re extra careful to avoid drips or runs at this stage.
We always work in a dust-free area and wear gloves to keep oils from our skin off the surface. After the last coat, we let it cure for several days before using the kayak. This gives time for the varnish to harden fully.
With practice, we’ve learned that slow and steady wins the race when it comes to varnishing. Take your time, and you’ll end up with a beautiful, durable finish.
Post-Varnishing Care and Maintenance

After varnishing a kayak, proper care is key to keeping it in top shape. We’ll cover how to protect your kayak and maintain its new finish for long-lasting performance.
Protecting the Kayak
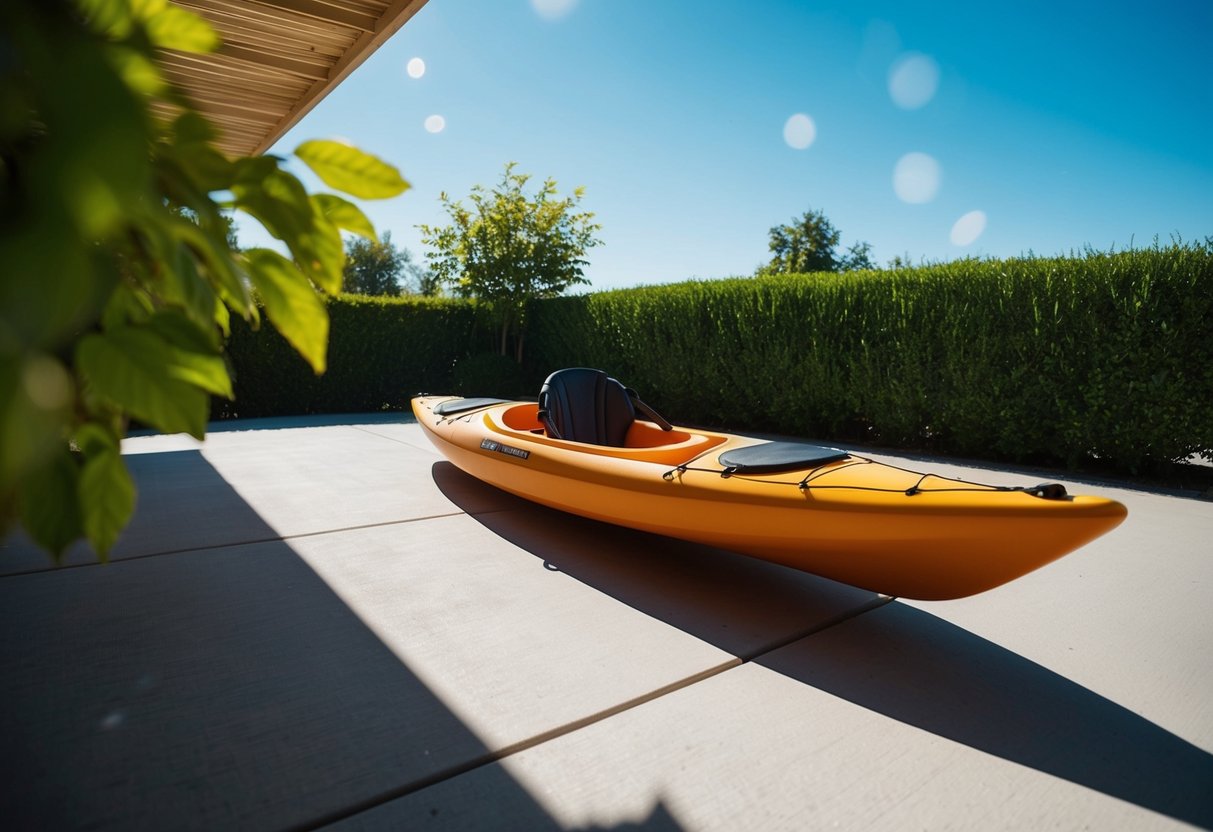
Once the varnish is fully cured, we need to shield our kayak from harm. A kayak cover is a must-have. It guards against sun damage, dirt, and scratches when we’re not using it. We always pick a cover that fits snugly but allows air flow to prevent moisture buildup.
We’re careful about where we store our kayak too. A cool, dry spot away from direct sunlight is best. If we must keep it outside, we use a UV-resistant cover and check it often for any wear.
When transporting our kayak, we use padded roof racks or a trailer. This stops the varnish from getting scratched. We also avoid dragging the kayak on rough surfaces. Instead, we lift it or use a cart to move it around.
Regular Care
To keep our kayak looking great, we clean it after each use. A quick rinse with fresh water removes salt, sand, and grime. We use a soft sponge and mild soap for tougher dirt. Harsh cleaners or abrasive materials are a no-go – they can damage the varnish.
We inspect the varnish regularly for chips or scratches. Small issues are easy to fix if we catch them early. For minor scratches, we lightly sand the area and apply a thin coat of varnish.
Every few months, we give our kayak a good wax job. This adds an extra layer of protection and keeps the finish glossy. We choose a marine-grade wax and apply it in thin, even coats.
By sticking to these care tips, we keep our kayak’s varnish looking fresh and performing well for years to come.
