
Repairing a kayak might seem like a daunting task, but it’s something you can definitely handle with the right guidance. If you’ve got a cracked hull or a damaged skeg, our step-by-step tips will help get your kayak back in the water quickly. We’ve gathered some tried and tested methods to ensure your repairs are both easy and effective.

We know that getting started is the hardest part. Whether you’re dealing with a hole, a crack, or damage to the rudder, our guide will lead you through the essential tools and techniques. From simple cleaning tips to using marine-grade epoxy, you’ll be equipped with everything you need.
It’s not just about the repair; it’s also about ensuring your kayak stays in great condition. We’ll discuss patchwork, sealing, and maintenance tips. Ready to dive in? Fixing your kayak is easier than you think, and we’re here to help every step of the way.
Key Takeaways
- Learn essential kayak repair techniques.
- Understand the tools and materials needed.
- Maintain your kayak for long-term use.
Getting Started with Kayak Repair
Before diving into kayak repair, ensure you fully understand the type of damage and the necessary tools and materials. Fixing a kayak requires a clean and well-prepared surface to ensure successful repair.
Identifying Common Kayak Damages
Kayaks can suffer various types of damage. Scratches are the most common issue, but these are usually superficial and can be ignored if they’re not too deep. Cracks are more serious and can cause leaks. Larger holes can happen if a kayak hits a sharp object. Entire sections might need reinforcing if the material becomes weak over time.
To identify damage, thoroughly inspect the kayak after every use. Look for visible cracks, listen for water sloshing inside, and check for any flexing areas. Doing this helps us catch problems early and address them before they escalate.
Tools and Materials Needed for Repair
Repairing a kayak involves some basic tools and materials. You will need a heat gun or melting pot to melt plastic. Plastic welding rods are essential for sealing cracks and holes. Sandpaper or an abrasive pad is used to clean and prep the area before starting the repair.
Mineral spirits help clean the surface of dirt and grease. A putty knife is useful for applying melted plastic and smoothing it out. Depending on the repair, you may also need Flex Seal for quick fixes. Having all these tools ensures we’re ready to fix any damage that might come up.
Repairing the Hull
When it comes to fixing your kayak, you want to address both scratches and any cracks that might appear. It’s important to handle each type of damage properly to keep your kayak in great shape and ensure safety on the water.
Fixing Scratches and Gouges
Scratches can appear on the hull after dragging the kayak over rocks or rough surfaces. To fix light scratches, start with fine-grit sandpaper. Lightly sand the area to blend the scratch into the rest of the hull. Be careful not to sand too deeply.
Next, use a plastic polish to make the surface smooth again. Apply a small amount of polish and rub it in using a clean cloth. This can help reduce the visibility of the scratches.
For deeper gouges, a plastic welding kit can be useful. Heat the area and apply new plastic material to fill the gouge. Then, sand the area smooth and polish it. Check out more tips from Paddling.com on kayak repair.
Dealing with Cracks
Cracks can be more serious and need immediate attention. One effective method for fixing cracks is plastic welding. Start by cleaning the area around the crack to ensure a good bond. Use a wire brush to remove debris if necessary.
Next, heat the plastic welding tool and use it to melt both sides of the crack. Add new plastic material carefully to the crack to bond it together. Use vice grips to hold the new plastic in place until it cools.
After welding, let the area cool and then sand it smooth. Ensure there are no weak spots left. For more detailed steps, you can follow advice from this plastic welding guide. Following these steps will help your kayak stay durable and safe on the water.
Fixing the Skeg and Rudder

Keeping both the skeg and rudder in top shape is essential for your kayak’s performance and safety. Adjusting the skeg ensures smooth tracking, while regular rudder maintenance helps with steering.
Adjusting the Skeg for Smooth Operation
A well-adjusted skeg helps your kayak track straight, especially in windy conditions. The first thing to do is to inspect the skeg cable for any kinks or bends. Straightening the cable can often fix basic issues. If you notice the skeg is not lowering smoothly, it might be stuck due to debris or a bent cable.
To fix this, clean the skeg box and ensure no sand or gravel is blocking it. Lubricating the skeg can also improve its operation. Use a silicone-based lubricant to avoid rust. If the cable is damaged, it might need replacement. Detailed instructions for specific kayak brands can be found on Kayak Academy.
Rudder Maintenance and Repairs
Rudder maintenance involves checking the cables and the rudder itself for wear and tear. Inspect the rudder cables for any fraying. If you find any, replace the cables immediately. Confidently conducting a repair while out on the water can be seen in action through a useful video guide.
Also, it’s crucial to check the tension of the cables. Loose cables can lead to poor steering control. To adjust the tension, locate the adjustment screws near the foot pedals. Tighten or loosen them as needed till the rudder responds accurately to foot pedal movements. Regular cleaning of the rudder and cables with fresh water helps in preventing rust and prolongs the life of these parts. Fixing your rudder regularly ensures that you can steer efficiently, improving your kayaking experience.
Patchwork and Sealing
Repairing a kayak involves two main steps: applying a patch to the damaged area and sealing any leaks. This ensures that the kayak remains watertight and strong for future adventures.
Applying a Fiberglass Patch
First, gather all your necessary materials: fiberglass cloth, marine-grade epoxy resin, sandpaper, and protective gloves. Clean the damaged spot with soap and water, then let it dry. Sand the area around the hole to help the epoxy bond better.
Cut a piece of fiberglass cloth that covers the hole and extends slightly beyond it. Mix the marine-grade epoxy resin as directed on the package. Brush a layer of resin onto the prepared area. Place the fiberglass cloth on top and smooth it out to remove any bubbles.
Apply another layer of epoxy resin over the cloth, making sure it’s fully saturated. Let it cure for the recommended time on the epoxy resin package. Once cured, sand it down until smooth for a seamless finish. Your kayak will now be ready for light sanding and painting, if desired.
Sealing Leaks
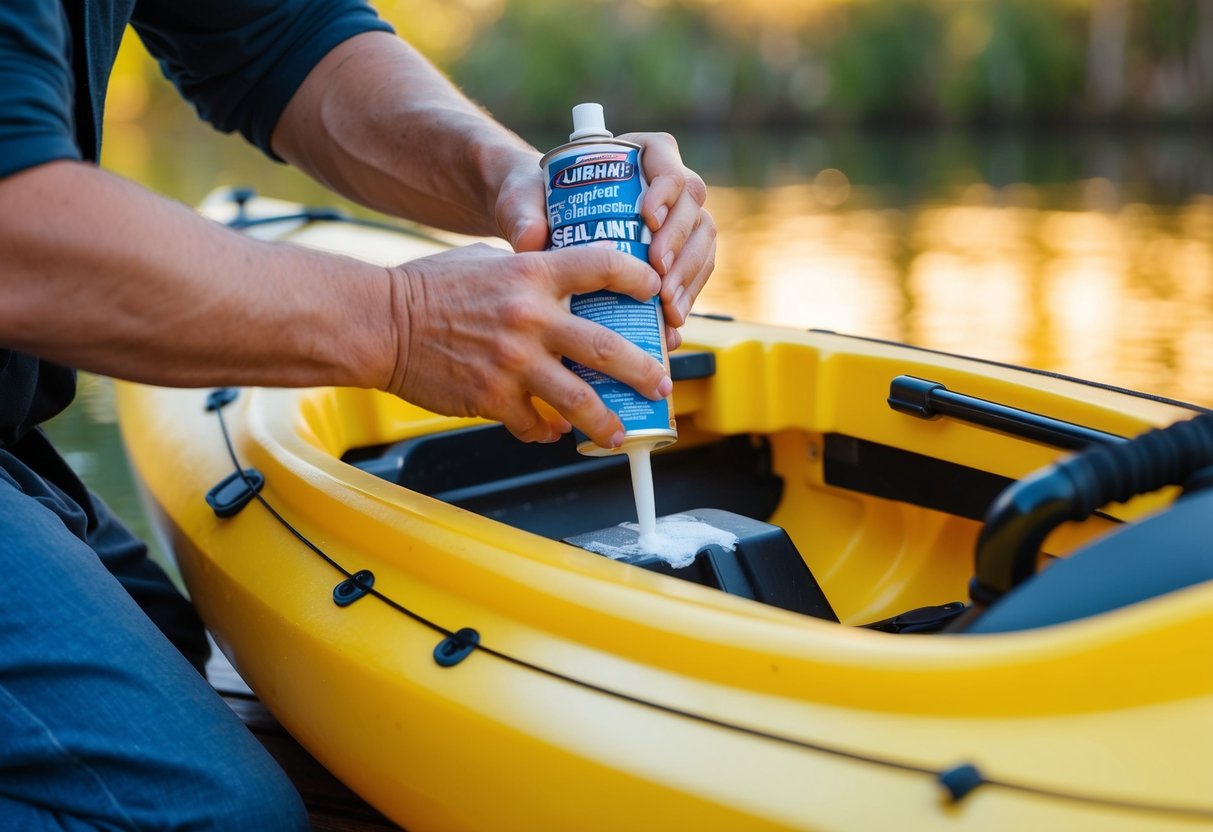
For minor leaks, use a marine-grade sealant. Tracks and screw holes are common places for leaks to develop. Clean and dry the area first. Sand lightly if needed to help the sealant stick better.
Cut the tip of the sealant tube at an angle for better accuracy. Apply the sealant evenly to the leaky area, covering all edges. Smooth it with a spatula or your finger for a neat finish.
Allow the sealant to fully cure according to the manufacturer’s instructions. Once it’s dry, fill the kayak with water to check for any remaining leaks. If there are none, the kayak is good to go. This straightforward method helps keep your kayak watertight, extending its lifespan and ensuring a safe paddling experience.
Final Touches and Maintenance
To keep your kayak in excellent shape, it’s essential to apply a protective coat and follow regular maintenance routines. These steps ensure your kayak remains durable and performs well in the water.
Applying a Protective Coat
After repairing your kayak, consider adding a protective coat to safeguard it against the elements. We recommend using marine-grade wax, which offers UV protection and helps repel dirt. Marine-grade kayak wax can be found at most marine supply stores.
Start by cleaning your kayak thoroughly with fresh water and mild soap. Rinse well and let it dry completely. Apply a small amount of wax to a soft cloth, then rub it onto the kayak in circular motions. Cover the entire surface, paying extra attention to the hull. Once applied, let the wax set for a few minutes before buffing it with a clean cloth for a smooth, shiny finish. This coat will help prevent future damage and make cleaning easier down the line.
Regular Kayak Maintenance Tips
Performing regular maintenance on your kayak can prolong its life and ensure optimal performance. Here are some key tips:
- Inspect Frequently: Check your kayak regularly for cracks, punctures, or other signs of wear. Early detection can prevent small issues from becoming major problems.
- Proper Storage: Store your kayak in a cool, dry place away from direct sunlight. If possible, hang it on a rack to avoid deforming the hull.
- Rinse After Use: Always rinse your kayak with fresh water after each use, especially if you’ve been in saltwater. This prevents salt and dirt buildup, which can cause damage over time.
- Check Fittings: Periodically check all fittings, such as seats, foot braces, and handles, to ensure they are secure and in good condition.
By following these tips, your kayak will stay in great shape, ready for your next adventure on the water. Maintaining and protecting your kayak ensures you get the most out of your investment and enjoy many pleasant paddling trips.
Frequently Asked Questions
Kayak repair can seem daunting, but with the right steps and tools, it’s manageable. Here, we cover key points like essential repair steps, when to call a professional, and how to prevent damage.
Q: What are the essential steps to patch a plastic kayak?
A: First, clean the damaged area thoroughly with soap and water. Let it dry completely. Apply a marine-grade epoxy or adhesive specifically designed for kayak repairs. Follow the instructions on the product carefully. Lastly, let the glue cure before taking your kayak back into the water.
Q: When is it necessary to use a professional service for kayak repair?
A: If the damage is extensive, like large cracks or multiple punctures, it’s best to get professional help. Also, if you’re not comfortable doing a DIY repair, a pro can ensure the job is done right and help maintain the kayak’s integrity.
Q: How do you address a puncture on a polyethylene kayak?
A: Clean the punctured area with an abrasive pad or sandpaper. After that, apply a marine-grade adhesive designed for polyethylene. Press the adhesive firmly into the hole and let it cure as per the product’s instructions. Your kayak should be watertight once the adhesive has set.
Q: Can you describe the process of plastic welding for kayak repairs?
A: Plastic welding involves using a welding gun to heat the damaged area and a plastic welding rod. Once the plastic is melted, you can mold it to fill cracks or holes. This method is highly effective but requires some practice to get right. Always work in a well-ventilated area.
Q: What should one consider when selecting a kayak repair kit?
A: Look for kits that include marine-grade epoxy, sandpaper, and easy-to-follow instructions. Some kits even come with plastic welding tools. Read reviews and ensure the kit is suitable for the type of material your kayak is made from, like polyethylene or fiberglass.
Q: How can you prevent your kayak from taking on water during a trip?
A: Regularly inspect your kayak for any signs of damage. Always carry a basic repair kit during trips. Avoid dragging your kayak over rough surfaces and store it properly when not in use. These steps will help you enjoy worry-free paddling.

3 thoughts on “How to Repair Your Kayak: Expert Tips for DIY Fixes”