Kayaking can be an exciting way to explore the great outdoors, but sometimes things don’t go as planned. It’s crucial to know what to do if your kayak flips. Knowing how to recover from a capsize can make the difference between a minor mishap and a dangerous situation. People often ask, “What are the first steps in kayak capsize recovery?” and “How can I stay safe while kayaking alone?”
When your kayak capsizes, the first thing to remember is not to panic. Once you’ve got your wits about you, righting your kayak becomes the next step. Learning self-rescue techniques like using a paddle float or knowing the proper way to re-enter from the water can be lifesavers. It’s also worth noting that if you’re paddling with a group, assistance from fellow kayakers can make the recovery process smoother and safer.
Preparation is key. Before heading out, make sure you have the essential safety gear like a life jacket and a whistle. Always practice your recovery skills in a controlled environment before venturing into more challenging waters. Recovery isn’t just about the moment of capsize; it’s also about knowing what to do afterward to ensure you can enjoy many more kayaking adventures safely.
Key Takeaways
- Practice self-rescue techniques to ensure a quick recovery.
- Always wear essential safety gear like life jackets.
- Knowing how to right a kayak is crucial for safe kayaking.
Understanding Capsize Dynamics
Knowing why and how kayaks capsize can help paddlers stay safe and be better prepared. We’ll look into the different types of capsizes and the factors that contribute to these events.
Types of Kayak Capsizes
Kayaks can capsize in various ways, primarily side-to-side or end-to-end. Side-to-side capsizing is more common and happens when the kayak tips over due to a loss of balance. This can be due to sudden movements or strong waves hitting the side.
End-to-end capsizing is less common but can occur, especially in rough waters. This happens when the bow or stern dips under a wave, flipping the kayak over. Spray skirts and proper cockpit coaming can help prevent water from entering the kayak and causing instability.
Recognizing these types allows us to take specific actions to prevent or recover from a capsize, such as maintaining balance and using bracing techniques.
Factors Contributing to Capsizing
Several factors can cause a kayak to capsize. Water conditions like strong currents, waves, and wind can make it difficult to maintain stability. Experienced kayakers often adjust their techniques based on water conditions to stay upright.
The design of the kayak also plays a role. Wider and more stable kayaks are less likely to tip over compared to narrow ones. Paddlers should choose the right kayak based on their skill level and the conditions they will encounter.
Personal skills and experience matter too. Practicing capsize recovery techniques and staying calm during unexpected events can significantly lower the risk of capsizing.
Understanding and addressing these factors help us become better prepared and safer on the water.
Essential Kayaking Safety Gear
Equipping yourself with the right safety gear is crucial for a safe kayaking experience. Having a personal flotation device, proper paddling apparel, and essential safety accessories can make a big difference. Let’s dive into the details.
Personal Flotation Devices
A personal flotation device (PFD) is a must-have. It keeps you afloat if you fall into the water. You should always wear it while kayaking. A good PFD is comfortable, fits well, and has enough buoyancy.
Make sure the PFD is U.S. Coast Guard approved. There are different types, but most kayakers use Type III. These are designed for calm waters and are not too bulky. Remember to check your PFD yearly for wear and tear. Replace it if needed.
Paddling Apparel and Protection
Wearing the right clothes matters. Dress for immersion to stay safe even if you end up in the water. Wet suits and dry suits are great for cold waters. They help keep you warm and dry. In warm weather, quick-dry clothes are best. They don’t hold water and keep you cool.
A spray skirt is another piece of safety gear. It covers you and the kayak’s opening. This keeps water out, especially in rough waters. Don’t forget a hat and sunscreen to protect from the sun. Gloves can also help in preventing blisters from paddling.
Safety Accessories
Several small items can boost your safety. A whistle is essential for signaling others. If you’re in trouble, use it to call for help. In case your kayak fills with water, a bilge pump or sponge is handy. It helps you remove water quickly.
Keep your paddle from floating away with a paddle leash. Attach one end to your kayak and the other to your paddle. Also, have a basic first-aid kit. It can treat minor injuries until you get back to shore. Lastly, always bring a compact waterproof bag for your phone and other valuable items.
Being well-prepared with the right gear can ensure that your kayaking adventures are enjoyable and safe.
Pre-Capsize Preparation
Preparing for a possible kayak capsize involves two key elements: practicing wet exits and securing your gear. By focusing on these areas, you’ll be better equipped to handle unexpected situations on the water.
Practicing Wet Exits
Wet exits are essential for every kayaker. Knowing how to exit your kayak safely when it flips over can make a huge difference. We should practice wet exits in a controlled environment like a pool or calm, shallow water. This way, we can get comfortable with the process without added stress.
Start by ensuring your spray skirt is not too tight. A snug skirt is good, but it should come off easily when you need it to. Pull the loop at the front of the skirt to release it quickly.
To do a wet exit, lean forward and push your hips out while holding the kayak’s side. Use your legs to kick yourself out of the cockpit. It may feel a bit awkward initially, but with practice, it will become second nature.
Many instructors suggest wearing a personal flotation device (PFD) while practicing. It helps you keep afloat and adds to your confidence in the water.
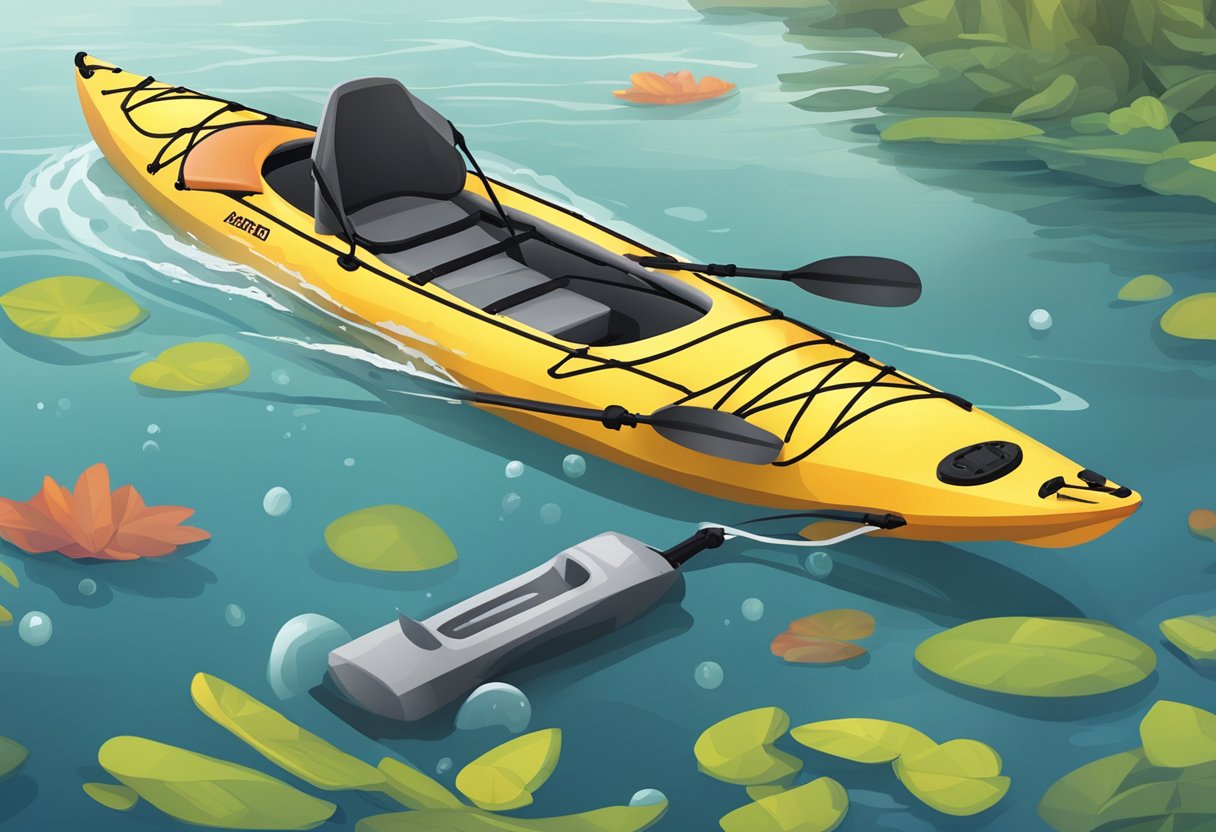
Securing Gear and Equipment
Securing gear and equipment is crucial for a smooth recovery after a capsize. We should always secure loose items in the kayak. Use bungee cords or storage compartments to keep things from floating away.
Attach a paddle leash to keep your paddle close. Losing your paddle can make recovering much harder. Some kayakers use a paddle float, which can be attached to one end of the paddle to help in flipping the kayak back upright.
Minimize exposure to the elements by dressing properly. Wearing a wetsuit or dry suit can keep you warm and protect you from hypothermia if you fall into cold water. Dress for the anticipated water temperature, not the air temperature.
Lastly, practice securing your gear regularly. Knowing where everything is and ensuring it’s tied down will save you a lot of trouble in an emergency.
Being prepared for a capsize involves more than just knowing how to flip your kayak back. By practicing wet exits and securing your gear, we can enjoy a safer and more confident kayaking experience.
Self-Rescue Techniques
When kayaking, knowing how to self-rescue is crucial for safety. Let’s break down three key techniques: the Eskimo Roll, Paddle Float Re-Entry, and Bilge Pump Usage.
Eskimo Roll
The Eskimo Roll is a technique used to right your kayak without exiting. It’s fast and effective but requires practice.
Steps:
- Capsize: When your kayak flips, stay calm.
- Setup: Position your paddle across the kayak horizontally.
- Hip Snap: Use a strong hip snap while simultaneously sweeping the paddle.
- Reorientation: Once upright, take a moment to stabilize yourself.
Tips:
- Practice in calm waters before venturing out.
- Always wear a spray skirt to keep water out.
- Consider taking a class to master the technique.
Paddle Float Re-Entry
The Paddle Float Re-Entry is a popular self-rescue method, especially for solo paddlers. It uses a paddle float to create stability.
Steps:
- Wet Exit: Exit the kayak safely.
- Attach Paddle Float: Attach the float to one end of your paddle.
- Set Paddle: Place the paddle perpendicular to the kayak, acting as an outrigger.
- Re-Enter: Position yourself behind the cockpit, kick strongly, and slide your body across the deck.
Tips:
- Keep a paddle float accessible.
- Practice in a variety of water conditions.
- Ensure your paddle is securely positioned.
Bilge Pump Usage
After re-entering your kayak, you’ll need to remove excess water. A bilge pump is essential for this.
Steps:
- Secure Yourself: Sit securely and brace your kayak.
- Position Pump: Insert the pump into the water-filled area.
- Pump Out Water: Use steady, firm strokes to expel the water.
- Check: Ensure your cockpit is dry enough to continue paddling.
Tips:
- Always carry a bilge pump on your kayak.
- Emptying water as quickly as possible improves stability.
- Regularly check your pump to ensure it’s in working condition.
Understanding these self-rescue techniques can make a big difference in your kayaking experience. Stay safe and practice regularly!
Assisted Rescue Scenarios
When you’re out kayaking, it’s smart to know how to handle capsize situations. Assisted rescues like the T-Rescue and the Paddle Bridge can be very effective. These methods require cooperation with a partner to successfully recover from a capsize.
T-Rescue
The T-Rescue is a common technique used when a paddler capsizes. It involves a partner who assists in stabilizing and emptying the kayak. First, the capsized paddler should signal for help by banging on the bottom of their kayak while staying close to it.
The assisting paddler approaches the capsized kayak perpendicularly, forming a “T” shape. The capsized paddler then lifts their kayak’s bow onto the rescuer’s boat to empty water out. This process helps to keep the kayak stable, making it easier for the capsized person to re-enter.
Once most of the water is out, the rescuer helps by holding the kayak steady as the capsized paddler climbs back in. This technique is especially useful in cold water where a quick recovery is crucial to avoid hypothermia. Regular practice of the T-Rescue builds confidence and ensures both paddlers are familiar with their roles.
Paddle Bridge
The Paddle Bridge method is another effective assisted rescue. It’s often used in choppy or deep waters. In this method, the rescuer places their paddle across both kayaks, creating a bridge. The capsized paddler uses this bridge to pull themselves up and out of the water.
First, the capsized paddler holds onto the rescuer’s kayak to stay afloat. The rescuer then extends their paddle across the deck of both kayaks. This creates a stable surface for the capsized paddler to grip and pull themselves up onto their own boat.
The Paddle Bridge offers extra support, making it easier to re-enter the kayak compared to other methods. This technique can be particularly helpful for paddlers who haven’t yet mastered self-rescue techniques. It also allows for quick recovery, an important factor in maintaining safety on the water.
Learn more about these techniques from detailed guides available online, like the Capsized Kayaker Assists and T-Rescue.
Re-Entering Techniques
When a kayak capsizes, getting back in safely is crucial. Depending on whether you are using a sit-on-top or sit-inside kayak, there are different techniques to follow.
Sit-On-Top Kayak Recovery
For sit-on-top kayaks, the process is relatively straightforward. First, you need to flip the kayak right side up by grabbing the far side and pulling it towards you. After that, position yourself next to the kayak’s seat.
Hold on to the side of the kayak and kick your legs strongly to help propel your body up and onto the seat. Once your stomach is on the seat, swing your legs around to sit back in the kayak properly.
Sit-on-top kayaks provide more stability, making it easier to re-enter. Practicing in calm waters can help improve your technique and confidence in tricky situations.
Sit-Inside Kayak Re-Entry
Re-entering a sit-inside kayak can be a bit more challenging. The paddle float rescue technique is effective. First, attach the paddle float to one of your paddle blades, turning it into an outrigger for added stability.
Place the paddle across the cockpit, perpendicular to the kayak. Hold the paddle in one hand and the cockpit’s edge in the other. Position your legs behind you on the water’s surface, then kick strongly while pulling your chest onto the back deck.
Once on the back deck, rotate your body and slide your legs into the cockpit. Adjust your position until you’re securely seated. Practicing with a paddle float can help you master this technique.
These methods are key to ensuring you can get back in your kayak swiftly and safely after capsizing. Staying calm and practicing regularly will make a big difference when you need to perform these re-entry techniques.
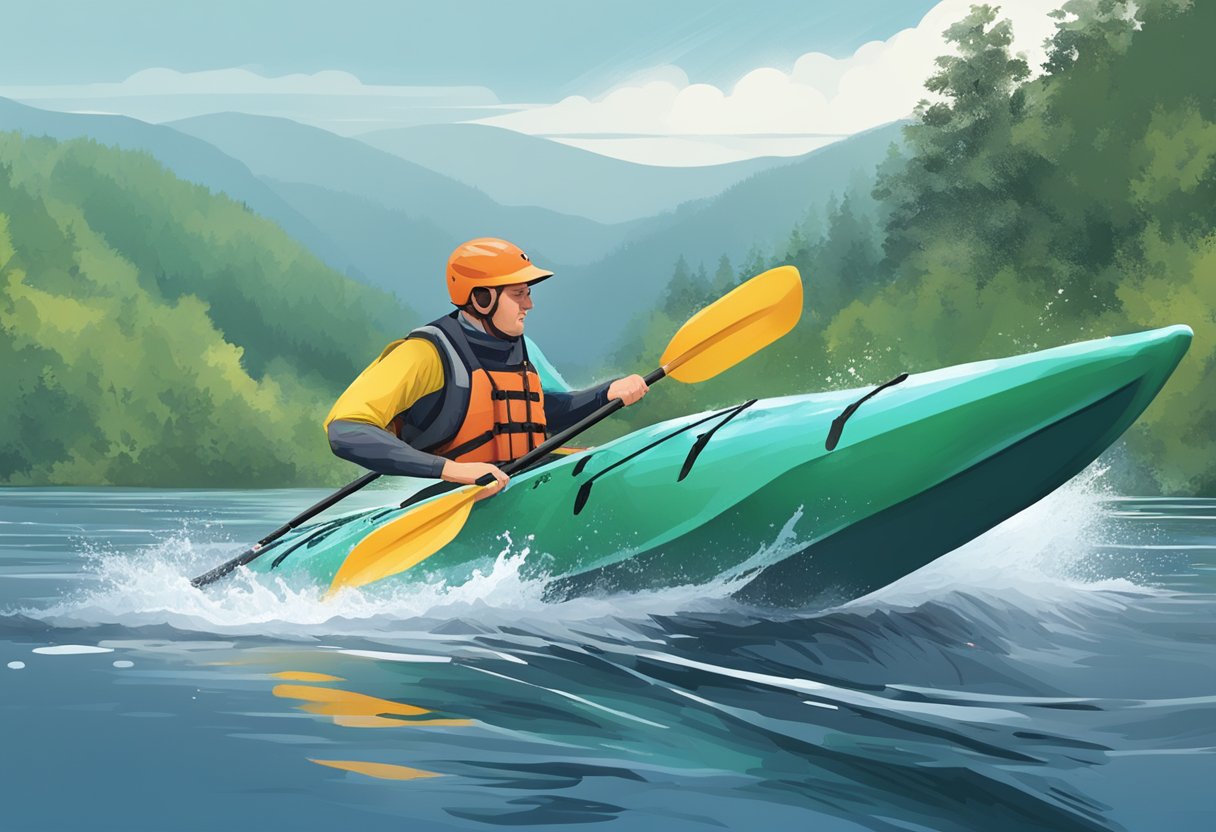
Staying Safe in Rougher Waters
Facing rougher waters requires knowledge of water conditions and techniques for handling capsizes. It’s crucial to maintain stability and remain a seaworthy paddler.
Understanding Water Conditions
Before heading out, we need to be aware of the water conditions. Checking the weather forecast and tides is essential. Strong winds can create large waves, making it challenging to keep the kayak stable.
Fast-moving water requires attention to currents. In rougher conditions, staying close to the shore can be safer than venturing into open water. Wearing a life jacket and having a spray skirt can protect us from waves and help keep our kayak dry.
Being informed about the environment helps us prepare better. Knowing when to paddle and when to wait can make a big difference in our safety.
Handling Rough Water Capsizes
In rough waters, capsizing can be intimidating. First, we should always stay calm. Panicking can make the situation worse. Holding onto the kayak is crucial to avoid drifting away.
Performing an Eskimo roll is a valuable skill that helps right the kayak without exiting it. It requires practice but is effective in maintaining stability in turbulent water. For those unable to roll, a wet exit followed by a self-rescue or assisted rescue might be necessary.
Using a paddle float can assist in re-entering the kayak. Placing our foot on the paddle shaft for support adds stability. It’s also important to keep our center of gravity low during re-entry to prevent another capsize.
Adapting the recovery technique to the situation ensures we can handle different challenges confidently and safely.
After-Capsize Care
Proper after-capsize care is crucial to ensure personal safety and to maintain your equipment. By focusing on health checks and equipment care, we can get back to enjoying our time on the water.
Health Check and Recovery
After capsizing, the first priority is to check for any injuries. Bruises, cuts, or scrapes can easily happen, so it’s important to address these right away. If you feel any pain, it’s a good idea to take a break and assess your condition. We should always have a basic first-aid kit on hand to deal with minor injuries.
Exposure to the elements can lead to hypothermia, especially in cold waters. If you start shivering, find dry clothes and warm up as soon as possible. Taking the time to warm up and dry off can prevent serious health issues.
If you’re feeling overwhelmed or disoriented after capsizing, don’t rush back into the water. Take a moment to rest and regain your composure. Remember, it’s always better to be safe than sorry.
Equipment Check and Care
Checking your kayak and gear after a capsize is essential. Inspect your kayak for any damage, particularly to the bulkheads and hull. A quick check can prevent future issues while out on the water.
We need to ensure our paddle is secure and hasn’t been lost or damaged. If you use a paddle float for rescues, make sure it’s still in good condition. Tie any loose gear to your kayak with bungees or lines to avoid losing anything important.
Drying out your equipment is important too. Water can damage certain materials or cause mold to form. Make sure everything is properly dried and stored after use. This helps extend the life of your gear and keeps it in good working condition.
Improving Skills and Confidence
To become proficient at kayak capsize recovery, it’s important to practice regularly and learn from experts. These strategies will help you build both skills and confidence on the water.
Regular Practice
Regular practice is key to mastering kayak capsize recovery. Spending time on calm waters can help you get used to being in a kayak and handling capsizes. Start with simple drills, such as wet exits and re-entries. Repeating these moves helps build muscle memory.
Incorporate stability exercises in your routine. Practicing balance will make it easier to stay calm if you capsize. Try paddling in various conditions to get a feel for different scenarios. This will prepare you for unexpected situations.
Using tools like paddle floats can also be beneficial. A paddle float rescue involves using an inflatable device to stabilize your paddle and assist in re-entry. Practicing this technique can enhance your confidence and ability to return to your kayak after a capsize.
Learning From Experts
Learning from experienced kayakers can significantly boost your recovery skills. Enrolling in courses like those offered by NOLS provides structured training in sea kayaking, rescue techniques, and risk management. These courses are designed to teach you vital self-rescue skills.
Reading materials and articles from experts, such as USK articles by Wayne Horodowich, can offer valuable insights and tips. Videos and tutorials can demonstrate proper techniques and give you visual references to follow.
Participating in group paddling sessions can also be incredibly beneficial. Experienced paddlers can offer real-time feedback and guidance. This not only improves your skills but also fosters a sense of community and shared learning experiences.
By consistently practicing and learning from seasoned kayakers, you can greatly enhance your capsize recovery skills and paddling confidence.
Frequently Asked Questions
Kayaking can be both exciting and challenging. Knowing how to handle a capsize is crucial for safety and confidence on the water.
Q: How can one perform a solo capsize recovery in a kayak?
A: To perform a solo capsize recovery, start by staying calm. Reach across the bottom of your overturned kayak and, with a swift motion, flip it upright. Use your hips to help with the rotation. Once the kayak is upright, haul yourself back in.
Q: What is the recommended technique for re-entering a kayak after it has flipped?
A: After flipping your kayak, position yourself parallel to it. Holding the cockpit rim with one hand and the paddle with the other can stabilize you. Kick your legs to push yourself up and slide onto the kayak, then carefully rotate into a seated position.
Q: Are there specific drills to practice for recovering from a kayak capsize?
A: Yes, practicing capsize drills is beneficial. One effective drill is the T-rescue, where another kayaker helps you. Paddle float rescues and solo re-entries in calm waters also make good practice. Repetition builds confidence and skill.
Q: What safety measures should be taken to prevent kayak capsize fatalities?
A: Always wear a US Coast Guard-approved life vest. Stay calm if you capsize and focus on self-rescue techniques. It’s important to paddle with a buddy, especially in challenging conditions. Also, check weather forecasts and plan routes for safe kayaking.
Q: In the absence of a paddle float, how does one execute a self-rescue?
A: Without a paddle float, use the cowgirl or cowboy method. Position yourself at the back of the kayak and kick to lift your legs onto the deck. Slide forward until you reach the cockpit, then rotate into a seated position. Practice this method in calm waters first.
Q: What should a paddler do immediately after capsizing in a kayak?
A: First, make sure you’re wearing your life vest. Stay calm and hold onto your kayak to prevent it from drifting away. If you’re paddling with others, signal for help. Begin your recovery method as soon as you’re ready. Stay focused to avoid panic and execute your steps methodically.

6 thoughts on “Kayak Capsize Recovery: 101 Techniques and Tips”